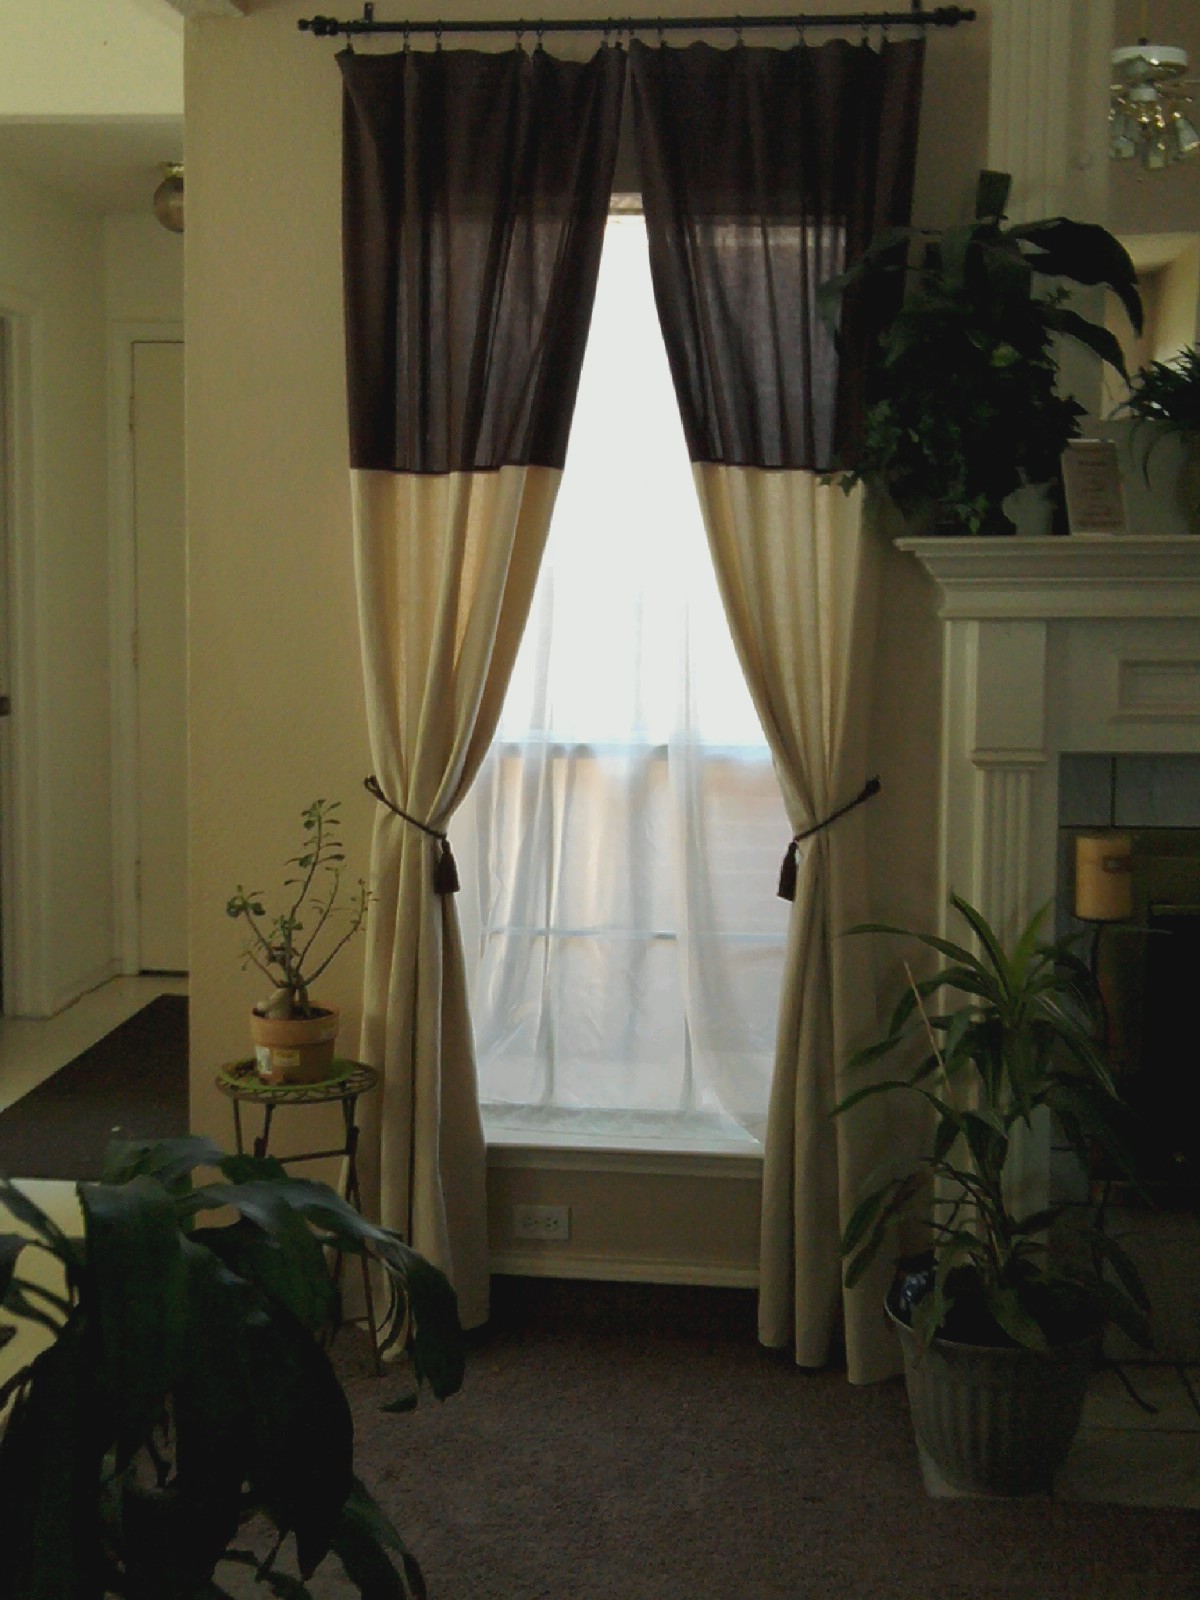
After going through blog after blog, I finally settled on how to do the curtains in my living room. I knew I wanted to use drop cloths. I like the style, texture and even more the savings they offer. I was hung up on how I wanted to do them. I like the contrast of having dark and light. I happened upon an extra long table cloth in the clearance section at Walmart. I used it for the top. I wasn't sure if I wanted the contrast material on the top of bottom of the curtain. The more I thought about it, the more I thought having them on the top was the best option. Mostly because of the weight. I wanted them to hang well and in my mind I thought having the lighter material on the bottom might keep them from hanging as I wanted them to. I could be way off on that, but I didn't want to get them all made, only to discover I should have gone with my gut. By using the contrast band, I was able to make both sets using one 6'x9' package. This was great! I later found this to be even more important since I discovered they have a slight variance in color from package to package, even when you use the exact same brand. I am really happy with how they came out!! I purchase the tiebacks at Lowe's as well. They were a whopping 2.00 a piece!! YEAH!

Now get this, in my search of saving the almighty dollar, and blog searching I discovered a tutorial of how to make your own curtain rods!! Yes!! It cost me a total of $5.00!!! That is for BOTH rods!! You have to measure exactly how long you want them since you are cutting them and they are not expandable. I painted them with oil rubbed bronze. I purchased 2 pkgs of clip rings. Each had 14 clip rings for only 7.00!

I plan to make another set. I will post a tutorial on how I did them when I do. I was too nervous making these to have been able to document each step as I needed to. I was also not all that sure how it would come out. Now that I have made one set, I feel confident enough to tackle another! Maybe even improve on it a bit!.
I cannot recommend this enough! I was able to make the curtains and curtain rods as well as buy the clips, brackets and tiebacks all for under $55.00. That is BOTH windows complete!! There is nothing that looks home made about them! This is the first set of curtains I have ever even attempted. Keeping in mind I have been sewing for all of a year! If I can make these anyone can! So get out there and get your DIY ON!! Step back and see what you can do. Feel that overwhelming sense of accomplishment that YOU did it! Even saved a bundle doing it! My DH is so proud of them! I think he may have even been shocked at how well they came out. I was too to be honest. Now I cannot wait to tackle my next project.
Have a great day!!
Erin
